Having your Exchange mailbox data on the cloud platform like Microsoft Office 365 has various benefits. Emails in Office 365 are globally accessible given you have the internet connection. Therefore, multiple Exchange users like to have a copy their Exchange mailboxes on MS Office 365. To assist this simply, a user can export their offline Outlook data file (OST) to Office 365 accounts. And it can be achieved in multiple ways.
Quick Solution
If you want to open Offline Outlook data file OST to PST, Office 365, try CubexSoft OST Converter software.
Let us know few reasons which push users to export their OST files to Office 365 account.
Reasons to Export OST to Office 365 Cloud
- Organizational shift due to Office 365 advantage
- MS Exchange damage and need a trustworthy platform
- Ignore big Exchange maintenance downtime
- Instant access of data in safe environment after accidental deletion
How Can I Open OST File into Office 365? – Solutions
There are no direct ways available to move OST database to Office 365 account. But, you can export OST files to Outlook PST format, and then upload them into O365 account. Also, there are many alternate third-party tools available to help you successfully save OST files directly into Office 365 account.
- Save OST File as PST File Format, then import into Office 365
- Move OST Files directly in Office 365 with third-party tool.
Solution 1. Manual Method to upload OST to Office 365
It is an indirect way to move OST files in Office 365 account. First, export OST file to PST format and then import them into O365 webmail account.
Step 1. Convert the OST File in PST File Format,
Step 2. Import the PST File to Office 365 Account
Both these steps can be applied in different ways.
Step 1. Convert the OST File to PST File Format
There are 4 different ways to export OST file to PST format
- Make a new PST file and copy OST items into it.
- Use the archive feature of Microsoft Outlook
- Use the Export feature of Microsoft Outlook.
- Use an alternate third-party OST to PST Export Tool
Make a New PST and Copy OST Items
This method allows you to move mailbox items to the new PST file.
- Start Microsoft Outlook email client.
- Make a new PST file in Outlook.
- Then, copy data from the desired mailbox folder and paste it into the PST file.
Use the Archive Option of MS Outlook
- Start Outlook email application and choose File Cleanup tools Archive.
- Choose a file or folder.
- Browse the destination where you wish to save the file and hit Ok.
- Now an archive file is created.
Note: The whole mailbox items can be easily archived exclude Outlook contacts.
Use the Export Option of MS Outlook
- Start the MS Outlook application and click on the Export option from the File tab.
- Choose the option of Export to a file and hit the Next.
- Choose the option Personal File Folder (PST) and hit on the Next.
- Now select the folders you need to export (also check the box to contain subfolders).
- Then provide the saving location for the converted file. Hit on the Finish to accomplish the process.
Note: This method is workable only when the user account is connected to the MS Exchange Server.
Step 2. Export the PST File to Office 365 Webmail Account
After moving OST file to PST, you can import it to O365 account in multiple ways:
- Import to Office 365 using Azure AzCopy
- Drive shipping to Microsoft
- Use Third-party OST to Office 365 program.
Network-upload using Azure AzCopy
You can directly import the output PST file in Office 365 account using AzCopy.
- Download and install Azure AzCopy and copy the SAS URL (the SAS URL will give the important permission to move the PST file to Azure.)
- Import the PST files in O365 webmail account.
- Create the PST mapping (CSV) file.
- Now create an import job in O365 to upload PST file.
- After that, filter the data and intiate the import job of PST files.
Drive Shipping PST Files to Office 365
Drive shipping to Microsoft helps to upload PST files to Office 365. Here, you just copy the PST files into a hard drive and send the drive to Microsoft. Microsoft will copy the data from the hard drive to the cloud.
Solution 2. Move OST Files Directly into Office 365 Webmail Account
Grab the CubexSoft OST Export to successfully upload OST files directly in Office 365 cloud with complete database. The complete step-by-step process of this tool is mentioned below for resolving “how can I open OST file into Office 365”:
Download the software by clicking on the below button and then run it on your windows OS machine.

Now launch this tool on your desktop and go to the “Select Files/Folder” option.
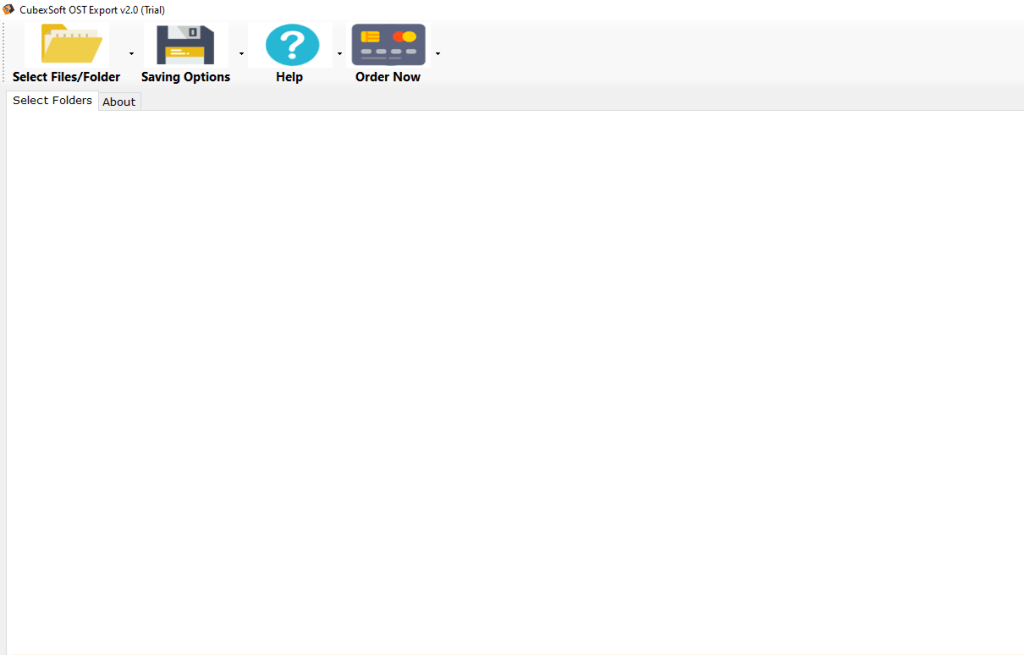
Then, choose OST files for conversion using “Add Files”, “Add Folders”, and “Load Outlook Profiles” option.

After adding OST files into the software, click on the “Saving Options” and choose “Export to Office 365” option.

Now select the Office 365 saving options according to your need – Ignore system folder hierarchy, change language, I am Admin, Office 365 Email ID, and Password. Then, click on Connect button.

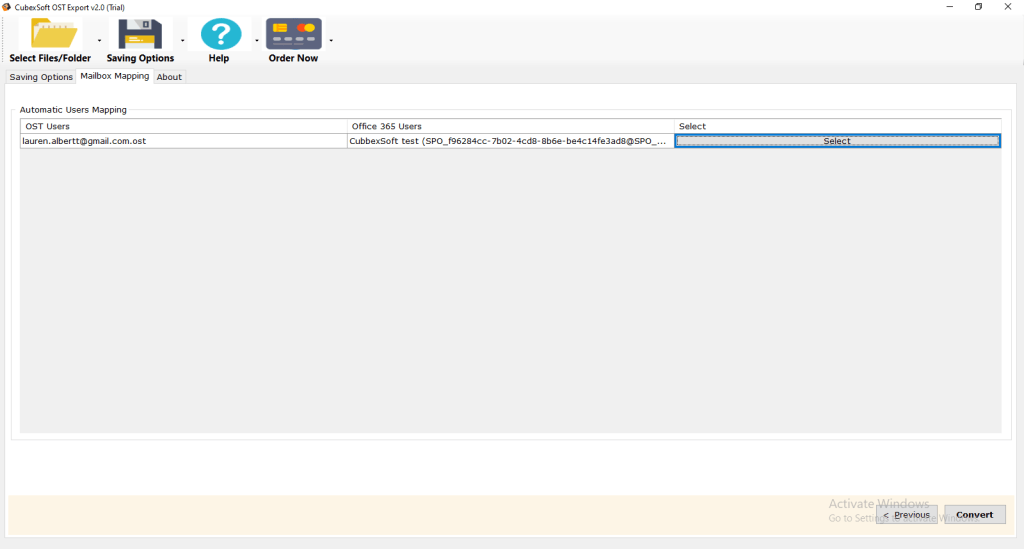
When you click the Connect button the tool will start connecting to O365 account and displaying the screen of Mailbox Mapping. It will appear three tabs that contain OST users, Office 365 users, and select. Then, hit on the “Select” tab; choose required Office 365 account in which you need to export OST items. Then, click Convert to start the process of moving OST files into Office 365 account.
Within a minute, the software will convert all OST database into Office 365 account and show the message of “conversion completed successfully”. Then, click on the Ok to accomplish the process.

Note: The CubexSoft OST Export provides an easy way solve “how can I open OST file into Office 365” query within a few minutes. It supports both end users and administrators to import OST files directly into Office 365 cloud without any problem. Its free trial edition is also available to check its complete working before buying this licensed edition. This free demo edition support to move first 25 items (emails, contacts, calendars, notes, tasks, etc.) from an OST file in PST format without any cost.
